Quick start guide for MFA#
General#
KU Leuven Multi factor authentication (MFA) has been activated for all users that try to log in to the KU Leuven cluster. This guide will quickly take you through the steps of correctly using and setting up MFA. For a more detailed guide check MFA Guide.
Getting started#
When you try to connect to the cluster through an ssh-client or a terminal, you will be prompted with a URL:
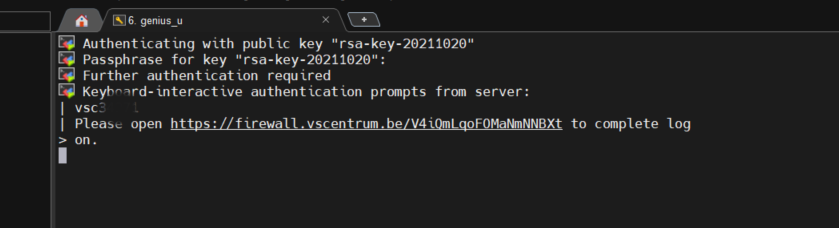
Cop-paste the provided link in a browser and follow it; highlighting the link with your mouse is sufficient to copy the URL to your clipboard. Avoid using CTRL-C, or it will send a SIGINT signal interrupting your process, instead of performing a copy operation. Once you paste the link in your browser, you end up on a login page of your university or association. For KU Leuven this will be the idp page:

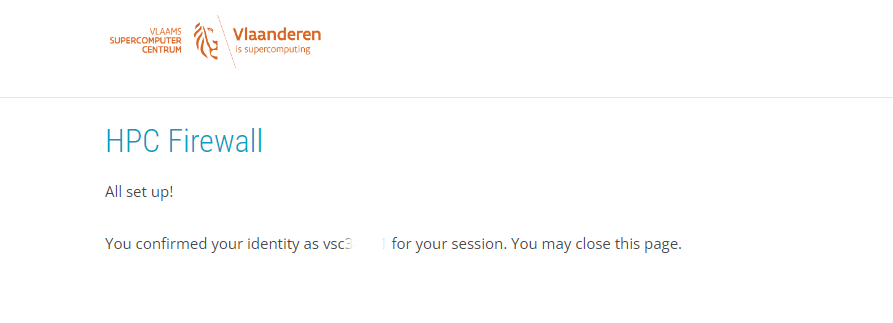
Log in as usual. You should now end up on a page that tells you that your VSC identity is confirmed. If you already performed the previous login in that browser session, you will immediately end up on this page.
Go back to your SSH client or terminal. You should now be connected to a login node on the cluster.
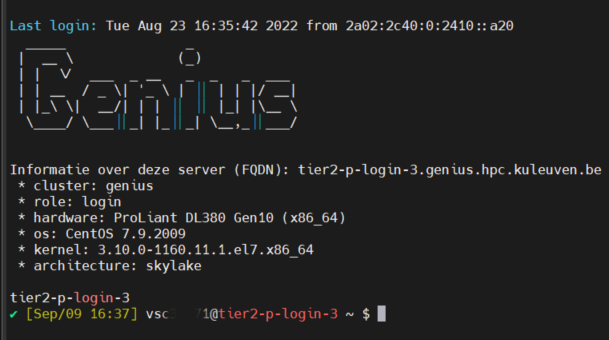
That’s it! You can continue doing your HPC work as usual.
Using apps that use SSH connections in the background#
Not all apps that can connect to the cluster with an SSH connection can prompt you the firewall link. For some apps it is possible to first connect to the cluster as described above, keep that connection open and if you then launch the app, it will start normally. Another method is going straight to https://firewall.vscentrum.be/ while the connection is pending. Look for: “Are you trying to log in from <IP address>? YES / NO”. Click YES. This works for FileZilla, and some versions of NX. If that does not allow you to connect, you should set up an agent.
Setting up an agent#
The standard login method will prompt you the URL every time you try to connect to the cluster. By setting up an SSH agent, you can create a certificate that will avoid this. Depending on your OS, there are different solutions. Select the correct one for your machine and follow the subsequent steps to set it up. The different set-ups are:
Windows machines
Linux machines and Mac machines
Windows machines#
For Windows machines, Pageant (version 0.78 or later) is a widely used SSH agent. First follow here the instructions about downloading and configuring PuTTY.
Find the Pageant icon on your bottom right application tray. It looks like:
Right-click on Pageant, and choose ‘Add Key’

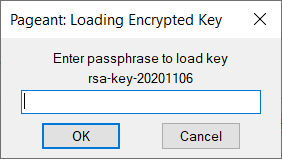
Browse to your VSC private SSH key, and enter your passphrase if prompted for
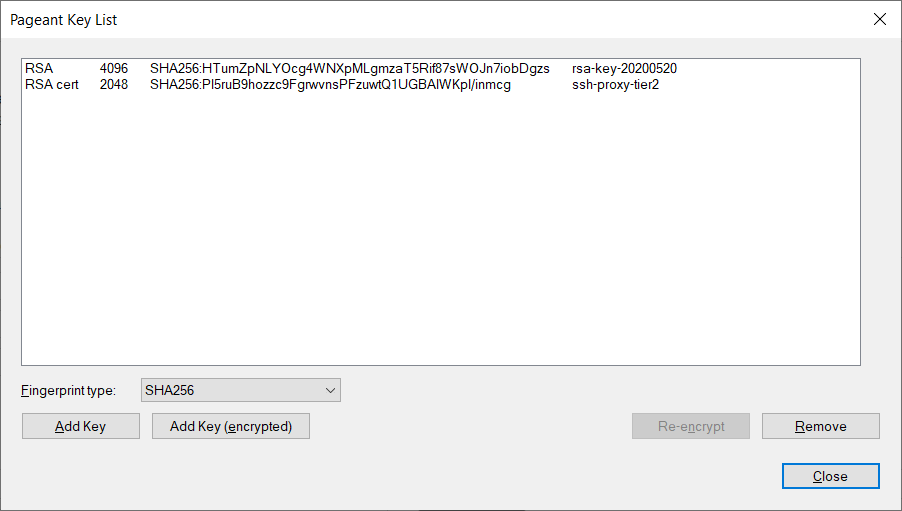
Try to connect to one of Tier2 login nodes. It is mandatory to allow agent forwarding in your ssh client. While connecting, you will be given a URL to validate your identity. Copy that URL in your browser and login to your KU Leuven account. Upon a successful login to your KU Leuven account, the login with your VSC account will also succeed. At this point,a new certificate will be stored in Pageant that holds your identity for a limited period of time. You can check the certificate has been stored by right-clicking on Pageant and selecting ‘View Keys’:
Pageant will provide your credentials to other applications (such as NoMachine, FileZilla, MobaXterm) whenever you are prompted for your identity. It might be required to configure your ssh client for this as explained below.
Linux and Mac machines#
On Linux and MacOS it is common to use OpenSSH, which is often already installed by default. Before using your agent, it is best to verify whether or not it is configured correctly:
Open a terminal
Verify if your agent is running with
ssh-add -l. If it is not running you will get following error:Could not open a connection to your authentication agentIf this is the case, start your agent with
eval $(ssh-agent)You now need to create or adapt a profile for the cluster in your ~/.shh/config file. If you notice you do not have this file yet, create it with the following command, you should adapt the permissions as well:
touch ~/.ssh/config
chmod 600 ~/.ssh/config
Your profile should look like this:
Host login.hpc.kuleuven.be
  ForwardAgent yes
  PubkeyAuthentication yes
  ChallengeResponseAuthentication yes
  PreferredAuthentications publickey,keyboard-interactive
You can now ssh to the cluster. The agent will automatically store your certificate. The certificate will be stored as long as your agent stays alive. Bear in mind that the certificates are valid for maximum 16 hours.
Configuration of SSH clients and UI apps for use with an agent#
Depending on how you set up your SSH clients and UI apps like NX and FileZilla, it can be that you have to make some changes to the configurations in these profiles. Here, we shortly show you how to set up MobaXTerm, PuTTY and NX correctly.
MobaXTerm#
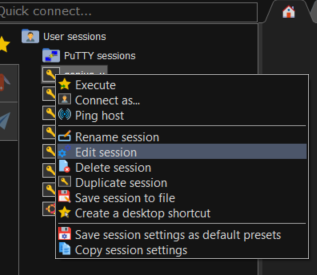
Right-click on the correct session and click on ‘edit session’
Under advanced settings. Be sure that ‘Use private key’ is not selected
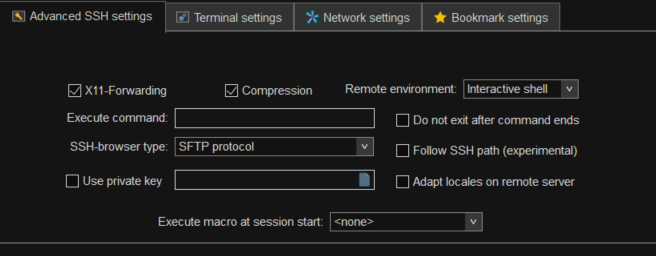
Click ‘Ok’
PuTTY#
Select your saved session for the cluster connection and load it
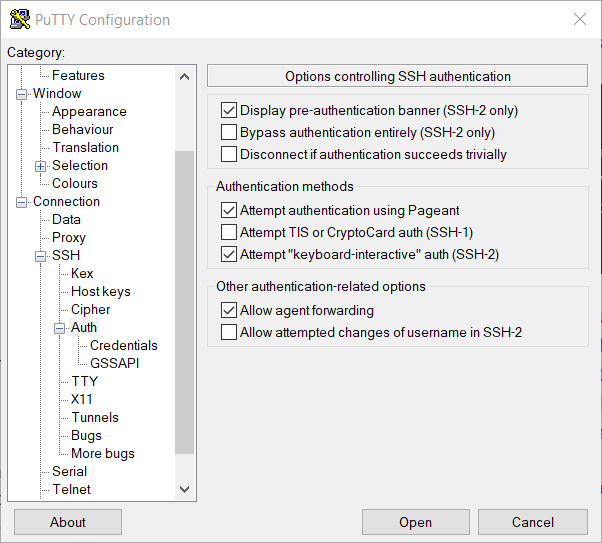
Under ‘SSH’, go to ‘Auth’. Make sure that the option ‘Attept authentication using Pageant’ is selected. Additionally, select ‘Allow agent forwarding’
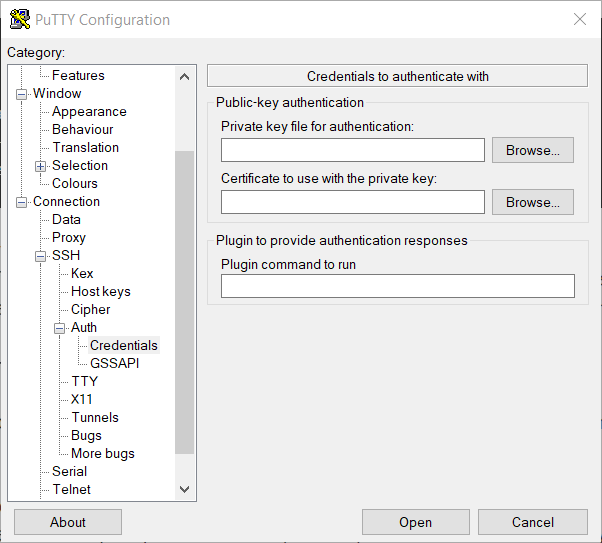
Under ‘Auth’, select ‘Credentials’ and remove any private key from the box ‘Private key file for authentication’
Save the profile under ‘Session’
NX#
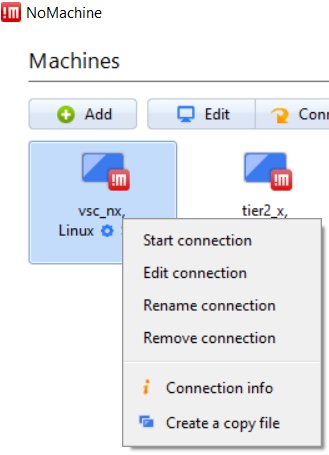
Open NX and right-click your correct profile. Select ‘Edit connection’
Go to the ‘Configuration’ tab and select ‘Use key-based authentication with a SSH agent’
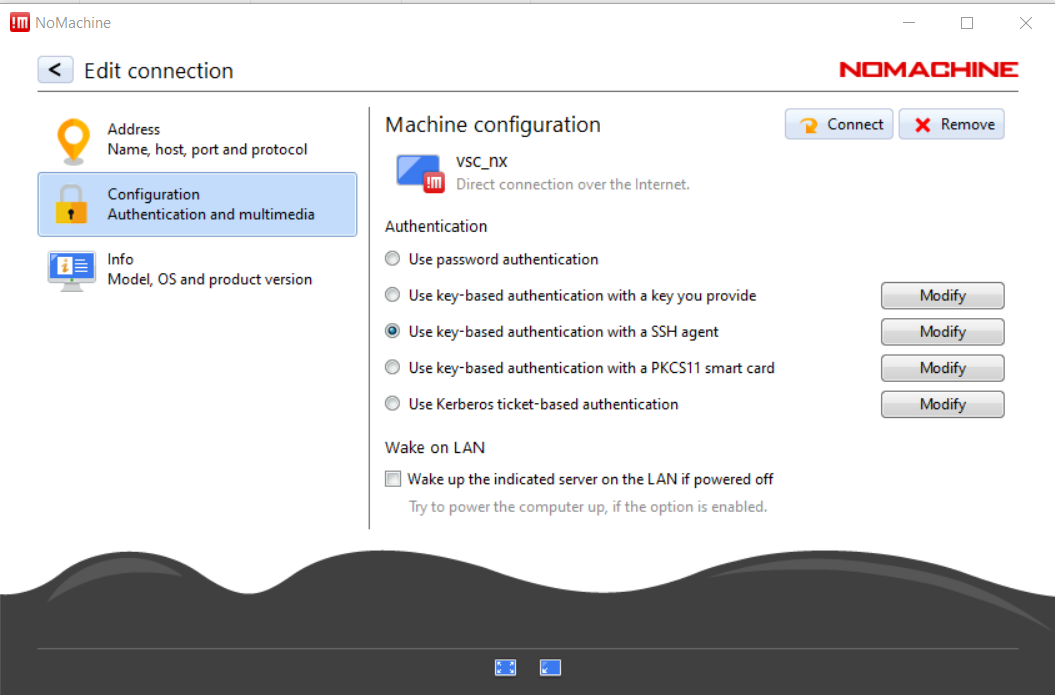
Click ‘Modify’ and verify that ‘Forward authentication’ is checked
